Thanks for returning to the Alternative Execution Macro Saga series! Here are parts 1-3 in case you missed them: part 1, part 2, and part 3. It’s been a busy past few months, and I had hoped to continue this series a bit sooner. However, to the best of my knowledge, the techniques we’ve been discussing haven’t been showing up in commodity malware yet. We have some more samples to share, but before we get to that let’s discuss some preventative options for these ActiveX controls.
Disable Office Macros
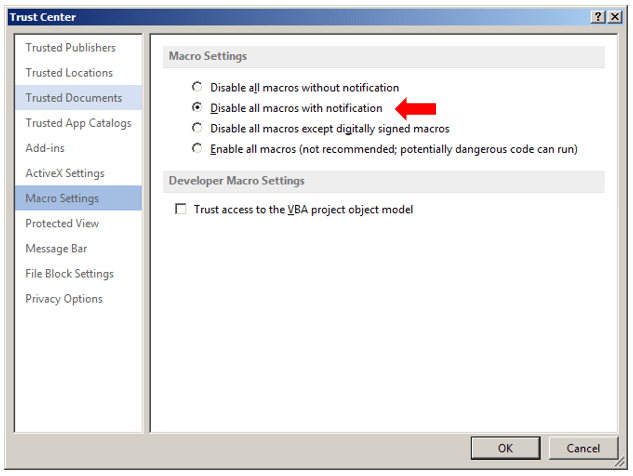
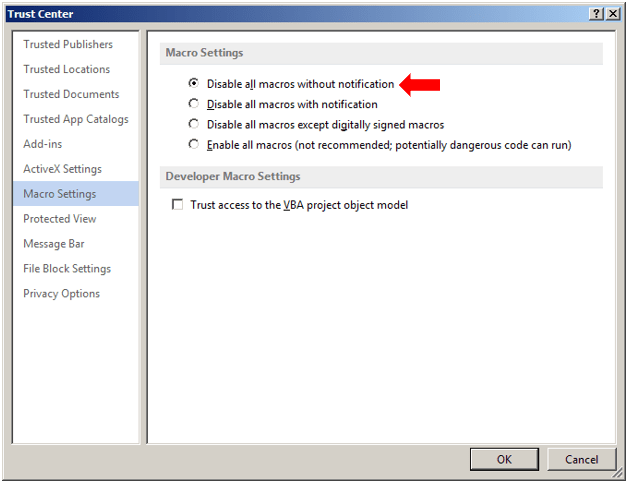
Infosec professionals have been pleading for decades for the authority to completely disable macros across the enterprise. We still see enough organizations making use of legitimate macros for business processes that it’s still economical for attackers to make use of maldoc payloads for gaining an initial foothold in enterprises. Although organizations can set the default macro policy via GPO to “Disable all macros without notification”, and lower that policy to “Disable all macros with notification” for an OU containing users who NEED macro access. In our observation larger enterprises still aren’t choosing to do this.
Default (bad) Trust Center Setting:
Best Option to Prevent Macro Execution:
What we’ve seen at larger organizations is that there’s a reluctance to enable such policies, out of concern that there will be unintentional disruption of genuine workflows.
The detection teams we work with have largely been unimpressed with their AD policy teams in this regard, and have instead been relying on prevention policies via Antivirus and/or EDR. These solutions can be an excellent workaround, especially given the remote nature of the workforce this past year where users may not necessarily be pulling the latest and greatest GPOs frequently. Custom solutions like SEP ADC rules or built-in policies via CylancePROTECT’s Macro Script Control have been fairly successful at defeating certain types of malicious macros – when implemented correctly.
Disable ActiveX Controls
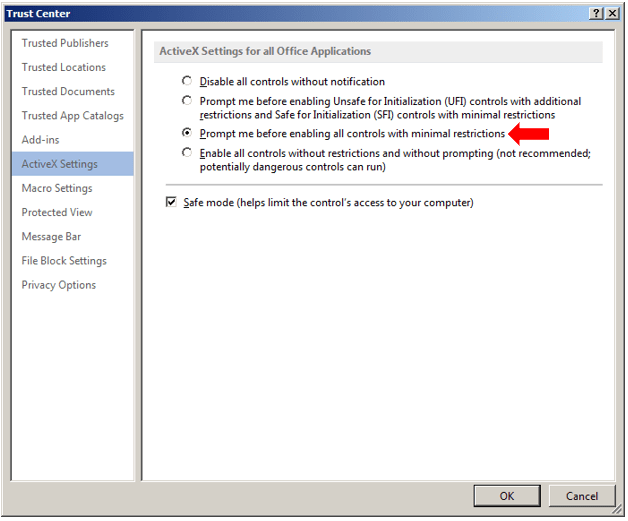
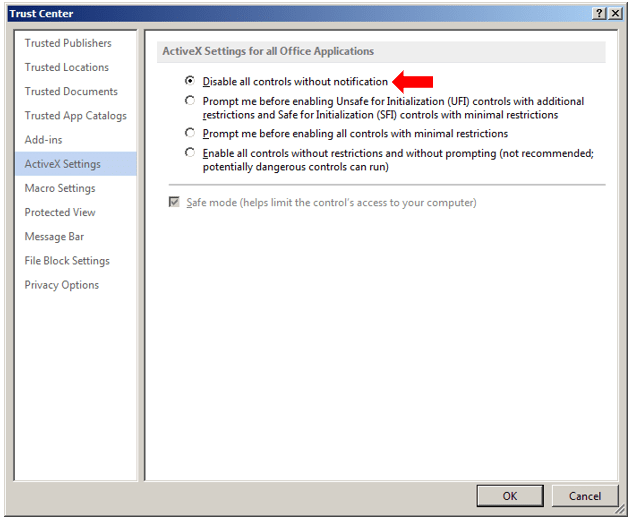
Although disabling macros enterprise-wide is a bit of a challenge, some organizations may be more comfortable disabling ActiveX controls in Office. We haven’t seen many organizations doing this, but to defeat all of these alternative execution methods, this would actually be the most robust method. Unfortunately, similar to disabling macros, many organizations still make use of ActiveX controls in office documents, in particular for populating Word Document-based forms.
Default (bad) Trust Center Setting:
Best Option to Prevent ActiveX Control Execution:
Custom ActiveX Control Deactivation
Since we can’t rely on AD teams to push these more restrictive policies, perhaps there’s a middle ground? Each of the execution methods we’ve demonstrated so far take advantage of social engineering to open a maldoc and enable macros and ActiveX controls if necessary. But wouldn’t it be great if there was a method to disable specific ActiveX controls in Office, just like setting a “Kill Bit” for ActiveX in Internet Explorer? Well, we’re in luck, because you can do just this!
Microsoft explains how to do this in their support article titled “Security Settings for COM objects in Office”:
The Office COM kill bit was introduced in the security update MS10-036 to prevent specific COM objects from running when embedded or linked from Office documents.
The COM Kill bit functionality has been updated in KB3178703 to completely block COM objects from being activated in-process by Office. This update is a superset of the original behavior wherein, in addition to blocking COM objects embedded or linked in Office documents, this will block any instances of COM objects being loaded within the Office process through other means like Add-Ins.
These specific COM objects include ActiveX controls and OLE objects. Through the registry, you can independently control which COM objects are blocked when you use Office.
Although the remark about KB3178703 isn’t 100% true (at least in the versions of Office I had tested), in general, if you set a kill bit for an ActiveX/COM GUID, it will prevent it from functioning normally. In testing on our end, each method we’ve demonstrated for ActiveX event-based code execution has been neutralized!
If we follow along in that support article, we’ll see that there are different registry paths to identify the COM Compatibility key depending on the version of Office in use, the Windows OS architecture (e.g. x86/x64) and the architecture for the version of Office in use (e.g. x86/x64). We reviewed x86 versions of Office 2013 running on Windows 7 and Office 2016 running on Windows 10 and noticed that depending on the Office installation you used, the appropriate registry keys may be in different locations.
Microsoft Office 2013 on Windows 7:
HKEY_LOCAL_MACHINE\SOFTWARE\Wow6432Node\Microsoft\Office\15.0\Common\COM Compatibility

Microsoft Office 2016 on Windows 10:
HKEY_LOCAL_MACHINE\SOFTWARE\Microsoft\Office\ClickToRun\REGISTRY\MACHINE\Software\Wow6432Node\Microsoft\Office\16.0\Common\COM Compatibility
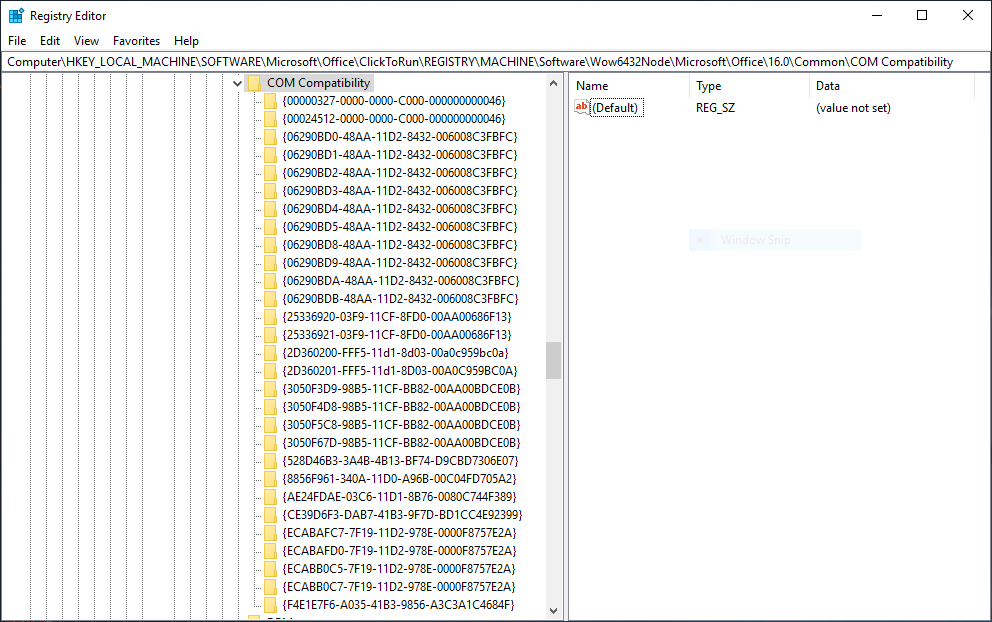
One thing that’s probably worth noting is that Office 2016 has a significantly longer list of CLSIDs than Office 2013. It would be a good guess that Office 2013 doesn’t block nearly as many ActiveX objects as Office 2016, but we’ll address this in a later blog. Instead, let’s create a Kill Bit setting for InkPicture!
Nullifying InkPicture
According to the Microsoft support article:
To enable the Office COM kill bit, perform the following steps
1. Add the registry subkey together with the CLSID of the ActiveX control or OLE object that you want to block from loading.
2. Add a REG_DWORD to this subkey called Compatibility Flags and set its value to 0x00000400.
Kill Bit In InkPicture
Using our trusty tool OleView, search for the InkPicture object:
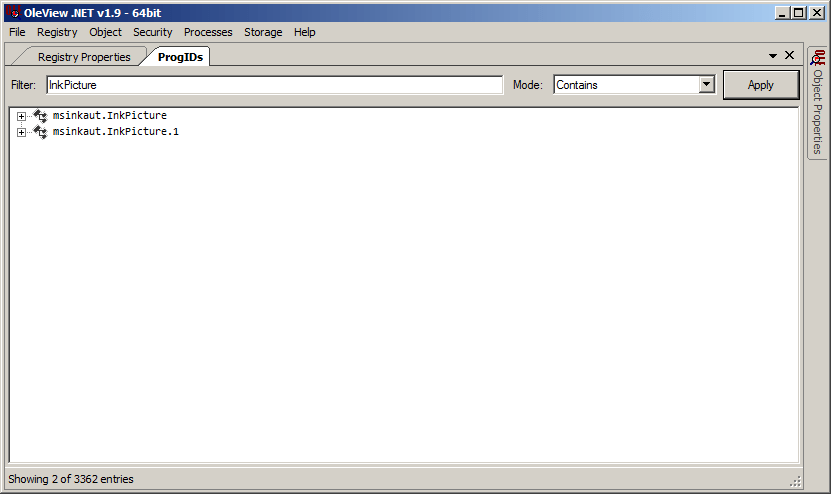
Both results refer to the same ActiveX/COM class, it just so happens that InkPicture can be referenced as a friendly ProgID of both msinkaut.InkPicture and msinkaut.InkPicture.1. Then we’ll right-click either entry and click Copy GUID.
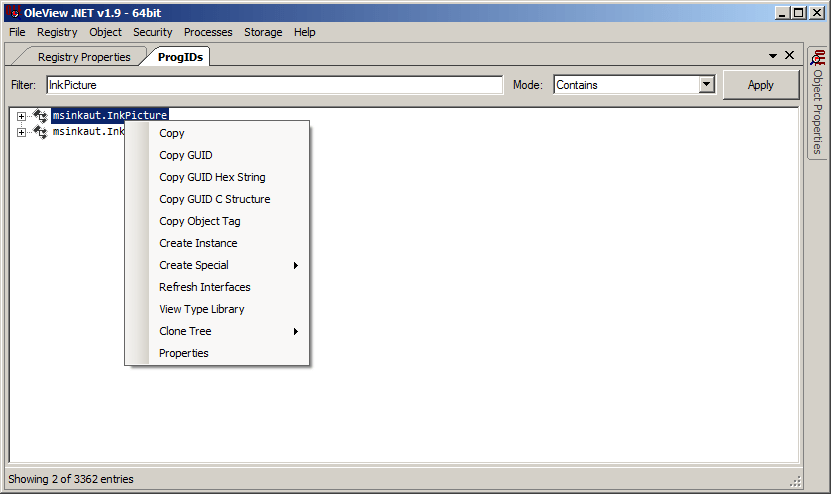
This will get you the GUID corresponding to the CLSID for InkPicture: 04A1E553-FE36-4FDE-865E-344194E69424
Now that we have this, we can return to regedit and add the Kill Bit. Our testing system in this case is Office 2013 running on Windows 7, however, the same steps can be applied with your choice of Windows/Office to validate.

Now we’ll want to add the REG_DWORD called Compatibility Flags to this subkey with the settings of 0x00000400

Excellent! Now that we’ve applied this setting, let’s detonate a test document!
Kill Bit InkPicture Test
We’ll make a very simple test document on another Windows 7 system, and open it to ensure that it triggers correctly:
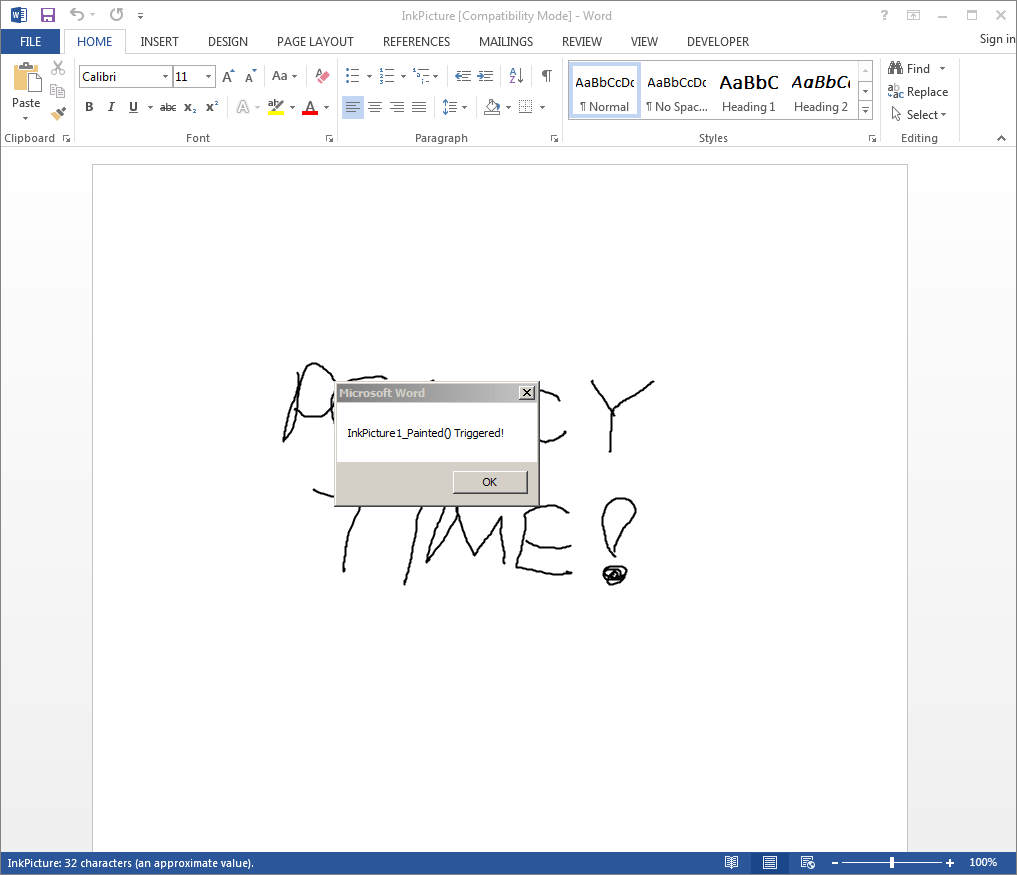
Great, now let’s open this on our Windows 7 system with the Kill Bit policy applied. We’re initially prompted to “Enable Macros”:
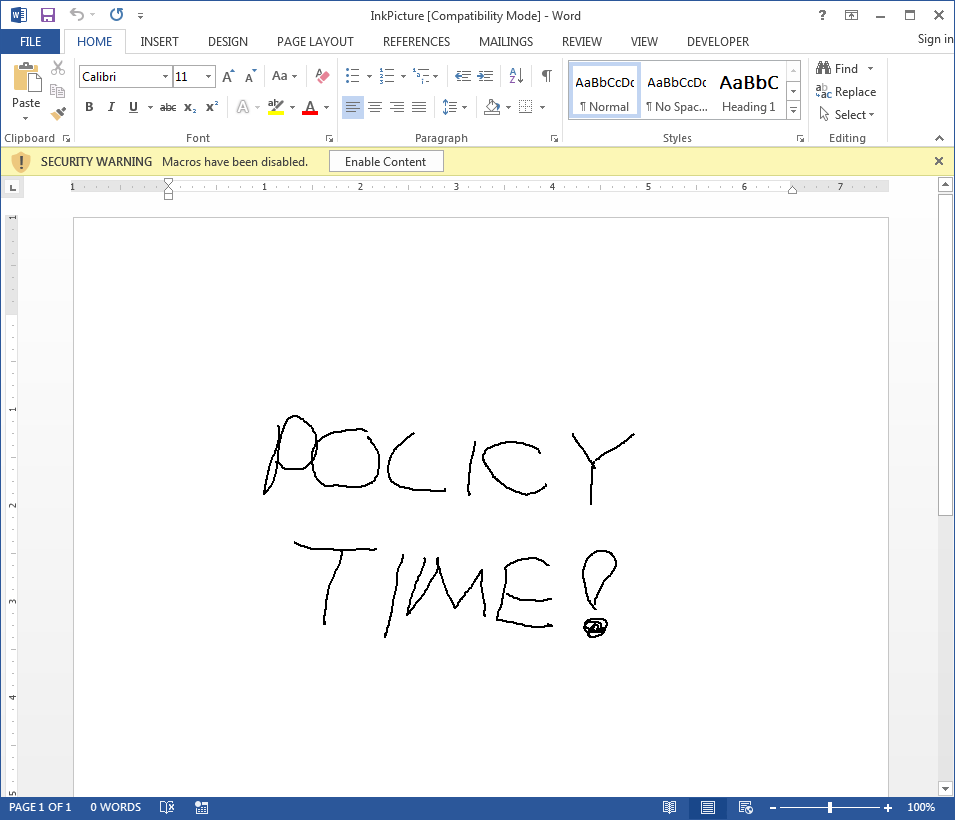
Once we click “Enable Macros” nothing happens. In fact, when we try to draw on the InkPicture object, the embedded object is selected, but we can’t draw on it because it’s been disabled:
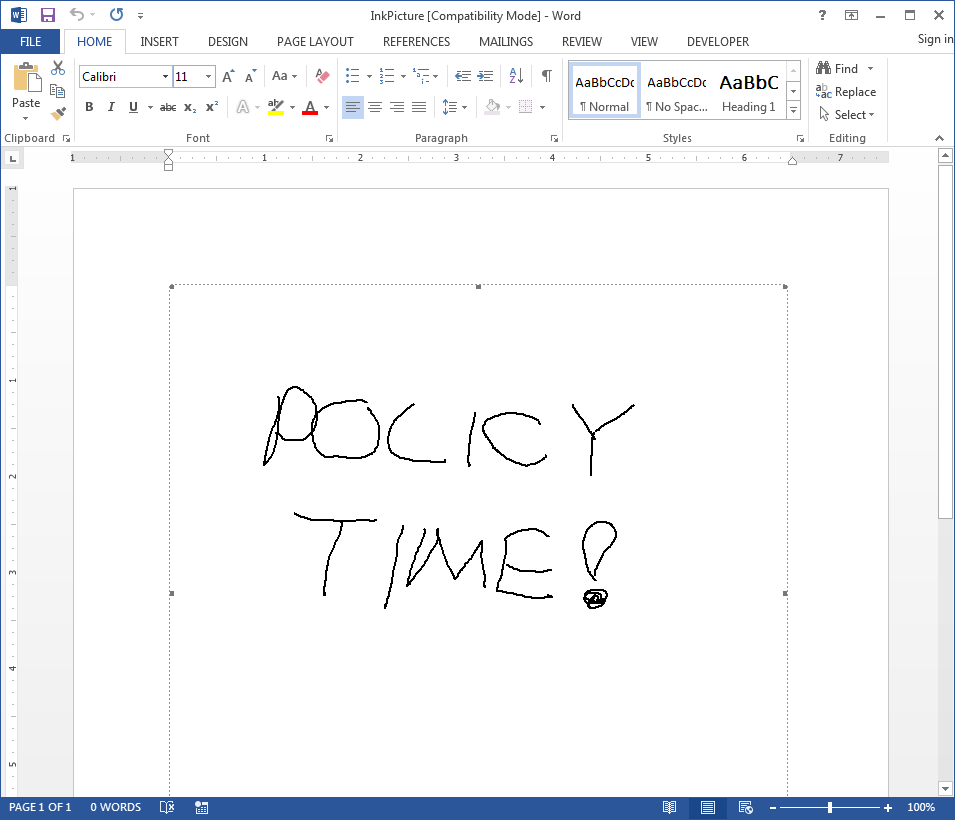
However, it does appear to render the drawing. Odd, isn’t it? It turns out that there’s a bitmap file containing our drawing encoded into the document, and it’s loaded at the time the document is opened. The ActiveX control is not loaded/rendered, and the payload has now been neutralized.
Now it’s just a matter of implementing this registry policy as a GPO to be applied to all endpoints in your organization! Since there appears to be some deviation from Microsoft documentation, we’d highly recommend reviewing the versions of Office you’ve used historically at your organization and customize the GPO appropriately based on the registry paths for the versions of Office you have installed.
Disable Macros Wrap-Up
This blog discusses the most effective methods for blocking maldocs that make use of non-standard execution methods to obtain code execution: disabling macros and/or ActiveX controls. However, we also walked through Microsoft’s documentation and tested a policy to prevent the InkPicture control from being used as an auto-execution method for maldocs. Since we covered three of these methods in previous blogs we’d recommend applying similar policies to each of the following ActiveX controls, by CLSID:
InkPicture Control: 04A1E553-FE36-4FDE-865E-344194E69424
Windows Media Player Control: 6BF52A52-394A-11d3-B153-00C04F79FAA6
System Monitor Control: C4D2D8E0-D1DD-11CE-940F-008029004347
Part 5 is now available! Continue on to the rest of the series where we’ll show you more terrible things you can do when Macros and ActiveX Controls are allowed to run in your Office documents!
